Last Updated on June 5, 2025
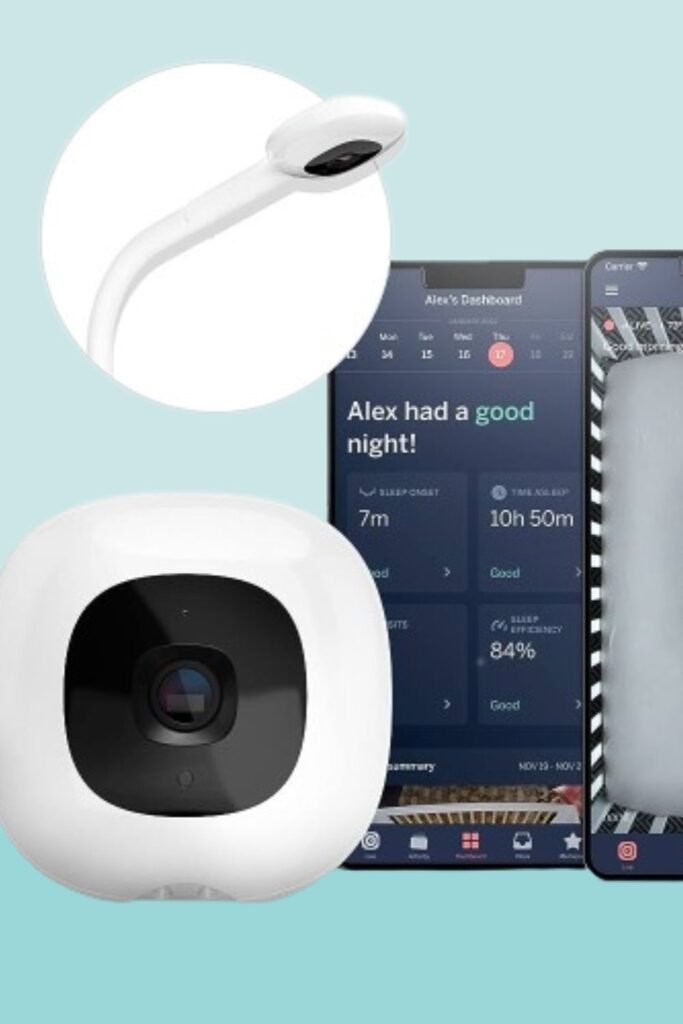
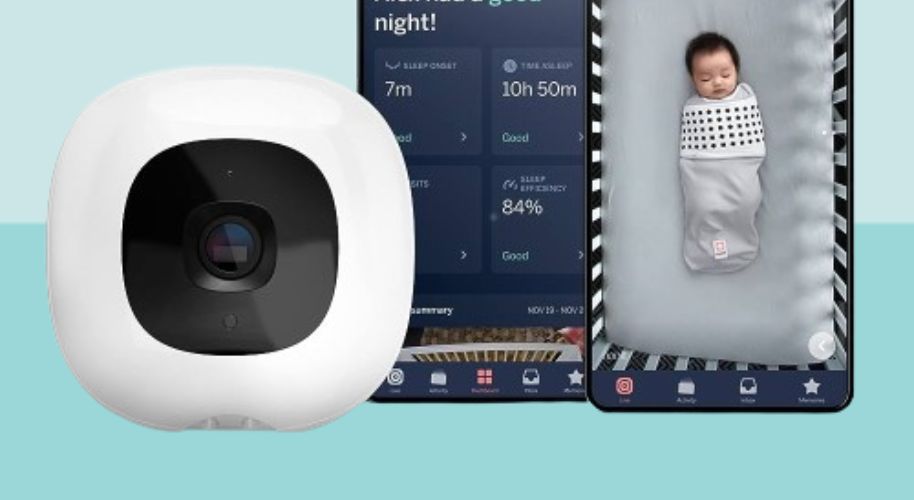
Getting Nanit connected to WiFi is like giving wings to your smart baby monitor. Nanit becomes a superhero, watching over your baby and talking to your phone through the magic of WiFi. Once they’re buddies, you can use your phone to see what your baby is up to, get instant messages about their adventures, and even boss Nanit around using your phone. It’s like having a remote control for your baby monitor!
This super friendship means you can keep an eye on your little one from anywhere, whether you’re in the next room or running errands. So, when you bring Nanit and WiFi together, you’re not just connecting two things. You’re creating a whole new level of baby-sitting awesomeness!

Connecting Nanit to WiFi for Ultimate Baby Monitoring: Here’s How
Connecting your Nanit device to Wi-Fi is a straightforward process that can be done in a few simple steps. Whether you’re setting up for the first time or switching to a new network, here’s how to do it:
Step 1: Access the Settings Tab
You need to open your Nanit application on your smartphone to initiate the process. Once you have the application open, look for the ‘Settings’ tab, which is usually located at the bottom of the screen. In the Settings tab, you will see a list of options for various settings for your Nanit device. Out of these options, you must select the camera you want to connect to a new Wi-Fi network.
Step 2: Tap ‘Advanced’
After selecting the camera, the app will take you to a new screen with additional settings specific to that camera. On this screen, you should find an option labeled ‘Advanced.’ Tapping on this option will lead you to a new set of options that allow you to change the more intricate settings of your Nanit device.
Step 3: Provide Your Wi-Fi Credentials
Once you’ve accessed the ‘Advanced’ settings, you’ll find an option to change or update the Wi-Fi network that your Nanit device is connected to. Upon selecting this option, the app will prompt you to enter your Wi-Fi credentials. This includes the name of your Wi-Fi network and the corresponding password. Make sure to enter these details accurately to ensure a successful connection.
If you’re trying to connect your Nanit device to a mobile hotspot, you might need some help. This is because mobile hotspots often come with data caps and overage charges. Additionally, the connection quality might also be affected by poor cellular service.
If you’re connecting to dual-band networks, you can navigate to ‘Network’ under your camera’s settings. Here, you will find instructions on how to connect to such networks.
You Might also Like These Resources!
- Adjusting the Recline on a Mamaroo Swing
- Strategies to Prevent Your Baby from Chewing on the Crib
- How to Adjust Doona Straps for Safety and Comfort
How Can I Switch Nanit to a Different WiFi Network?

Setting up your Nanit Sound and Light device with a new WiFi network can seem daunting, but it doesn’t have to be. This process involves pairing the device with your network, checking the connection, and finally controlling the device via the Nanit app. Here’s How-
- Access the Nanit App: Locate the Nanit app icon on your device’s home screen and tap on it to launch the application.
- Select Your Nanit Monitor: In the app, you’ll see a list of connected devices. Locate your Nanit monitor from this list and tap on it to proceed.
- Navigate to Settings: Look for an icon or tab resembling a gear or settings icon within the app’s interface. Tap on it to access the settings menu.
- Access WiFi Settings: Scroll through the settings menu until you find an option related to WiFi settings or network configuration. Tap on it to proceed.
- Choose a New WiFi Network: Tap the “Connect to New WiFi Network” or a similar option within the WiFi settings.
- Scan and Select Network: Wait for the app to finish scanning, then tap on the name of the desired WiFi network from the list.
- Enter WiFi Password: When prompted, input the WiFi password using the on-screen keyboard. This step is necessary for connecting to secured networks.
- Wait for Connection: Allow some time for Nanit to connect with the new WiFi network. This process may take a minute or two.
- Receive Confirmation: Once the connection is established, you’ll receive a confirmation message indicating that Nanit is now linked to the new WiFi network.
- Checking the Connection: After selecting the network, you can verify the connection by going to the Wi-Fi networks menu on the app. Here, you can see the name of the current WiFi network used by the device.
- Plugging in the Device: When you are ready to set up the device, first plug the cable into the device, then plug the cable into the USB adapter, and finally plug the adapter into the outlet.
- Using the App: The Nanit Sound and Light app allows you to control the device from outside the nursery as long as the device using the app is on the same WiFi network.
Troubleshooting Nanit WiFi Connection Issues
Nanit is a popular baby monitor that streams your baby’s activities. However, like any other device that relies on WiFi, it can sometimes experience connection issues. Here are some troubleshooting steps you can take to resolve Nanit WiFi connection issues.
Firstly, check the status of your home network. The problem could be due to an unstable or slow internet connection. Try connecting other devices to your WiFi to see if they work properly. If they’re not, you may need to reset your router or contact your internet service provider.
If your home network works fine, the issue might be with the Nanit device itself. Ensure your Nanit camera is within a good range of your WiFi router. Obstacles between your router and the camera can weaken the WiFi signal.
You can also restart your Nanit device. Unplug it, wait a few minutes, then plug it back in. This simple action can solve a variety of technical issues.
If you still need help with these steps, consider contacting Nanit’s customer service. They can provide more specific advice tailored to your situation and help you get your Nanit device back online.
Ensuring Data Security and Privacy with Nanit WiFi Connection
Data security and privacy is paramount when using WiFi-enabled devices like the Nanit baby monitor. Here’s how to safeguard your data and maintain privacy with your Nanit WiFi connection.
- Firstly, secure your home network. Use a strong, unique password for your WiFi network to prevent unauthorized access. Regularly updating your router’s firmware can also help protect against potential security vulnerabilities.
- Nanit uses AES 256-bit symmetric-key encryption, considered among the safest for protecting data transmitted over WiFi1. This means the data from your Nanit camera to your device is encrypted, ensuring that even if someone intercepts it, they cannot decipher the content.
- Another crucial step is to use a strong, unique password for your Nanit account. This prevents unauthorized users from accessing your account and viewing your baby monitor feed.
- It’s also essential to keep your Nanit app updated. Updates often include security enhancements and bug fixes that fortify the app against potential threats.
- Lastly, be mindful of who you share your Nanit account details with. Limiting access to only those who need it further ensures the privacy of your baby’s data.
FAQs
Is a stable and strong WiFi signal necessary for Nanit to function properly?
A stable and strong WiFi signal is essential for your Nanit device to function optimally. The device relies on WiFi to transmit video and audio signals to your mobile device or computer. You may experience issues like buffering, lag, or even disconnection without a good WiFi connection.
What should I do if I change my home’s WiFi password? How do I update it on my Nanit?
If you’ve changed your home WiFi password, you must update this information on your Nanit device. Here are the steps:
Open the Nanit app on your mobile device.
Tap on the ‘Settings’ icon (the gear symbol).
Under ‘My Devices,’ select your Nanit camera.
Tap on ‘WiFi Network.’
Select your WiFi network from the list and enter your new password.
Remember, these steps may vary slightly depending on the version of the Nanit app you’re using and whether you’re using an iOS or Android device. If you still need help, consider contacting Nanit’s customer support for further assistance.
Does Nanit work with both 2.4GHz and 5GHz WiFi networks?
Yes, Nanit does work with both 2.4GHz and 5GHz WiFi networks. However, there’s a small caveat. The original Nanit camera primarily uses the 2.4GHz band for better performance. Pairing your phone with your 2.4 GHz network before starting the setup process is recommended.
On the other hand, the newer models of Nanit cameras, including the Nanit Plus and Nanit Pro, support both 2.4GHz and 5GHz WiFi.Depending on your home network configuration, this dual-band WiFi capability provides more flexibility and better connection quality.
Why is my Nanit WiFi connection dropping?
If you’re losing your Nanit WiFi connections, it could be due to various reasons. A weak or unstable internet connection is a common cause. Also, an outdated Nanit app might contribute to connectivity issues. Overloading the router with too many connected devices or interference from other electronic devices can also affect the connection. Occasionally, the router might have problems that can be solved by restarting. Lastly, your internet is down if your monitor is in local view-only mode.
Conclusion
Connecting Nanit to WiFi makes parenting easier and more advanced. Switching to a new WiFi network is easy. With this setup, Nanit acts like a helpful superhero, looking after your baby even when you’re not in the same room. Just make sure your WiFi is strong. This combo of Nanit and WiFi lets you take care of your baby from far away using your phone.
It’s like having a special baby watcher that talks to your phone! As times change, this connection helps parents use cool technology to care for their babies better. So, keep your WiFi strong, and let Nanit and WiFi work together to give you super-parent powers!
You Might Also Like These Latest Content!
- Determining When a Child is Too Old for a Playpen
- Understanding the Age Limit for Fisher-Price Baby Swings
- Prime Swing Choice for Larger Babies

Amy A. Vincent is a Certified Pediatric Sleep Consultant and a mother of three beautiful children. She helps parents transition their babies from swing sleep to safe, independent sleep. She is passionate about helping parents teach their children the skills needed to become good sleepers and aims to make the process as easy and stress-free as possible. Read more
